

Rough-In Valve Placement: What You Need To Know. Where to set rough-in valves on a remodel so the finish trim works.
Read the transcript ▼
all right this morning I want to go over some features about installing a rough-in valve in a shower wall a lot of times when you get a valve it's made to go in a standard 2x4 wall this wall is a block wall and it's got some furring on it so the standard depth is doesn't apply here so you want to make sure that you're putting the proper blocking behind the valve to get it secured we don't want this valve to move when you're turning it on and off but also to be the right depth in and out of the wall so when you put all your finishes on the trim fits on properly for more information on rough in valves and shower remodeling go to Titan Plumbing electric.com [Music]
Rough-In Valve Placement: What You Need To Know, Tampa Kitchen & Bath Plumbing Walkthrough
Where to set rough-in valves on a remodel so the finish trim works.
Kitchens and bathrooms have more plumbing failure points than every other room combined, disposals, dishwasher hookups, ice-maker lines, vanity drains, shower valves, toilet flanges, exhaust runs. The video above walks through one piece of that puzzle in real Tampa context.
What rough-in details actually matter
On a remodel, the things that bite homeowners three years later are almost always rough-in choices: shower valve depth wrong for the chosen trim kit, toilet flange installed too low, drain offset that prevents the cabinet you fell in love with at the showroom from actually sitting in the space. We measure for the specific finish trim before any rough-in goes in the wall.
Tampa-specific consideration: humidity and exhaust matter more here than in cooler climates. Bathrooms without a routed exhaust to outside (as opposed to into the attic) become mold problems within five years. We always route to a roof or wall cap.
How Titan handles a kitchen or bath remodel
We start at the showroom with you when we can, knowing the finish trim before the rough-in saves callbacks. We pull permits, coordinate inspections, and stay through the cabinet/tile/finishes installation so the final connections actually fit what's on the wall.
- Rough-in dimensions matched to specific finish trim
- Routed exhaust to outside (no attic dumps)
- Code-current shutoffs at every fixture
- Slab cuts, drain re-routes, and floor patches done in-house
Key takeaways
What this video covers in plain English
Kitchen and bath remodels live or die on rough-in details. The video covers part of one job; these are the rough-in choices we see homeowners regret most often.
- Confirm rough-in dimensions for every fixture before any drywall closes up
- Match shower-valve depth to the specific finish trim, they aren't interchangeable
- Route bathroom exhaust to outside, never into the attic
- Plan for vanity sconces, dimmers, and smart-switch box depth in the rough-in stage
Tampa Bay · Same-day service
Have a job like the one in the video?
Real Titan technicians, never sub-contracted. Flat-rate pricing quoted before any work begins. A+ BBB rated, family-owned since 1994.
More kitchen & bath videos
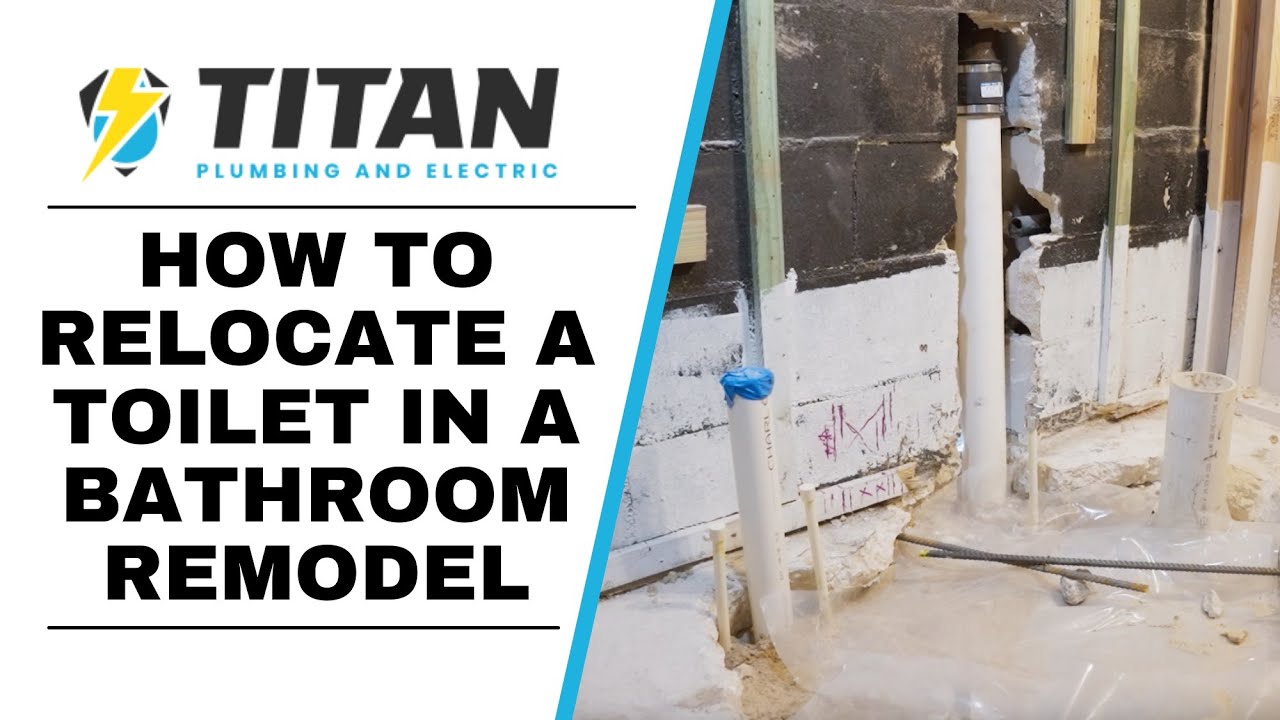
How To Relocate A Toilet In A Bathroom Remodel
Step-by-step: cutting the slab, re-routing the drain, setting a new flange, and finishing the floor for a relocated toilet.

New Sink Faucet Install
Clean, fast kitchen-sink faucet swap with new supply lines and a check for hidden cabinet leaks.
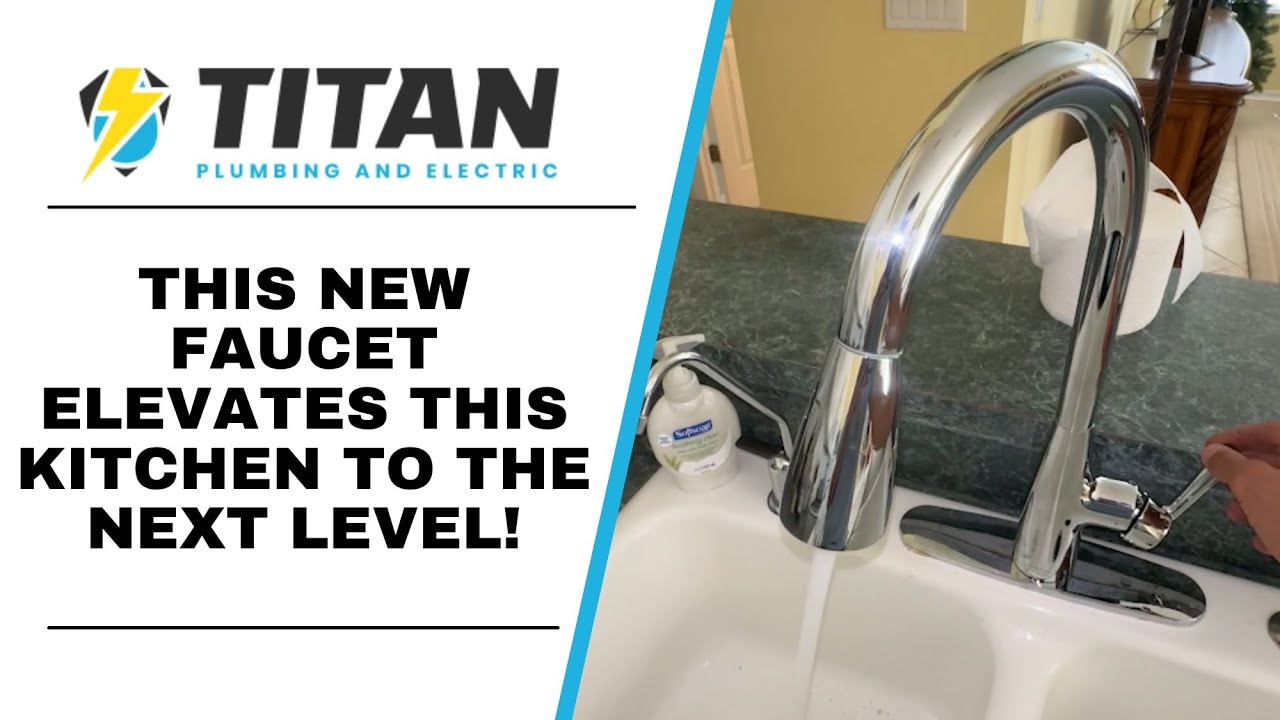
New Faucet Elevates This Kitchen
High-end pull-down kitchen faucet install with under-sink valve replacement and braided supply lines.